Complementary Shaders Lighting and Shadow Settings
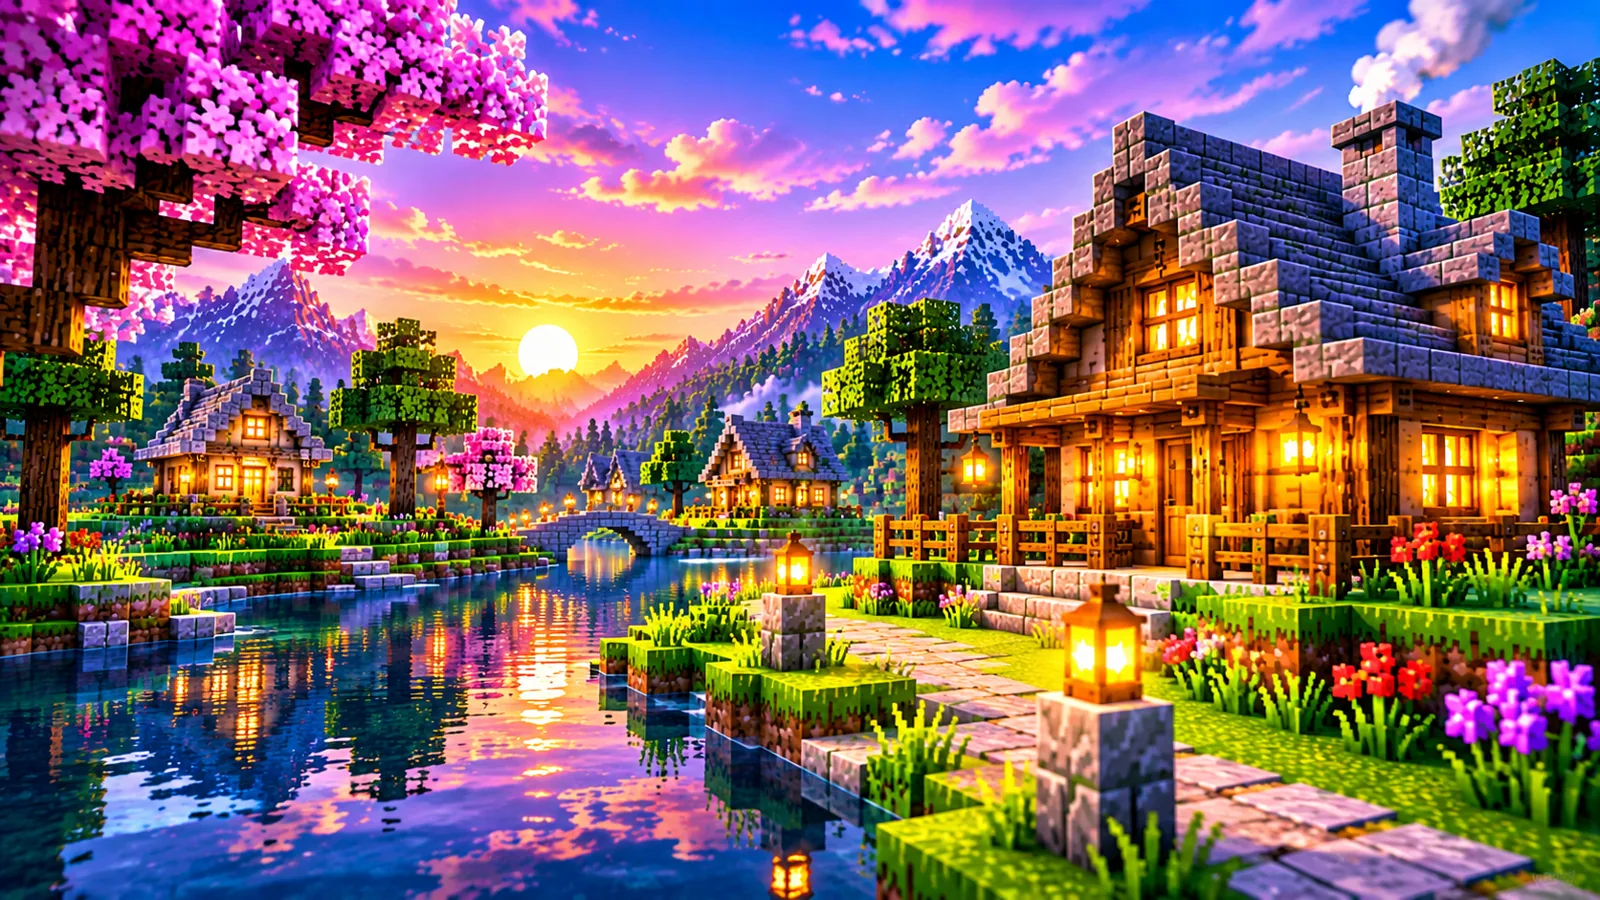
Lighting and shadows are what people mean when they say a shader "looks good", and they are also where most of the performance cost lives. Complementary Shaders gives you control over both. This guide explains the lighting and shadow settings that matter: what each one changes on screen, what it costs, and how to set them for clarity, mood or speed.
How Complementary handles light
The pack replaces vanilla's flat brightness with a modelled system: directional sunlight with colour that changes through the day, shadows cast by terrain and structures, ambient light that fills shadowed areas softly, and emissive light from torches, lanterns, lava and glowstone that reads as genuine glow. The two styles grade this system differently, Unbound toward cinematic contrast, Reimagined toward bright readability, but the controls below exist in both. Style context: visual style settings explained.
The shadow settings
- Shadow resolution / quality. How detailed the shadow map is. Higher means crisper, more stable shadows, and a real GPU cost, because the world is effectively rendered again from the sun's viewpoint. This is usually the single most expensive pack setting after render distance.
- Shadow distance. How far from you shadows are drawn. Beyond this distance, the world still renders, just unshadowed. Reducing it is a classic FPS win that is nearly invisible in dense terrain and more noticeable on open plains.
- Shadow softness. How feathered shadow edges are. Softer edges look natural and can hide lower resolution; harder edges look graphic and crisp. Mostly taste, minor cost.
The trade in one line: resolution buys crispness up close, distance buys coverage far away, and your frame rate pays for both. On a struggling PC, cut distance before resolution, nearby shadows are the ones you actually look at.
The lighting settings
- Brightness / exposure behaviour. The overall lightness of the render. Raise modestly if Unbound's nights or caves feel oppressive; lower slightly if Reimagined feels washed out at noon. Small steps, this dial moves everything.
- Sun/moon light character. The warmth and intensity of celestial light through the day cycle. This is where golden hour is made or muted.
- Block light (emissive) behaviour. How strongly torches and other light-emitting blocks glow and colour their surroundings. Central to underground and night-base aesthetics.
- Ambient fill. The soft light that keeps shadows from going pitch black. More fill means readability; less means drama.
Combinations worth trying
| Goal | Direction |
|---|---|
| Clear building light | Moderate shadow resolution, generous ambient fill, balanced brightness |
| Cinematic mood | Higher shadow resolution, lower fill, warmer sun, atmosphere up (see atmosphere settings) |
| Playable dark nights (Unbound) | Slight brightness lift, stronger block-light glow, keep shadows |
| Performance rescue | Shadow distance down first, then resolution one step, details in increase FPS |
Testing your changes properly
Judge lighting in three scenes: open ground at noon (shadow quality), your most-built area at golden hour (warmth and contrast), and an unlit cave mouth or night base (fill and block light). Change one setting between visits. Lighting is time-of-day dependent, so a setting that looks perfect at noon may misbehave at dusk, the in-game day test catches what menu previews cannot.
Resolution versus distance: spending one budget
Shadow mapping works by rendering the scene a second time from the sun's viewpoint into a map, then using that map to decide what lies in shade. The map holds a fixed amount of detail, and the two main shadow settings are really two ways of spending it.
Shadow distance decides the size of the area the map must cover. Shadow resolution decides how much detail the map holds. Spread a modest map over a huge area and each block receives little shadow information, edges crawl, thin structures shimmer, and shadows can appear to detach from the objects casting them. Concentrate the same map on the ground near the player and shadows become crisp and stable, at the cost of distant terrain rendering unshadowed.
This is why the two settings should be adjusted as a pair, and in opposite directions when you are chasing stability: if shadows shimmer, either raise resolution or shrink the area it covers. Render distance feeds into the same equation, shadows only need to exist where the world is drawn, so a shorter view quietly shrinks the area competing for the map. On Iris there is also a loader-level shadow distance cap sitting above the pack's own settings; if changes to in-pack distance seem to have no effect at the far end, that cap is the first place to check (see the Iris guide).
Balancing day and night separately
A lighting setup is really two setups sharing one set of dials. Daylight is dominated by the sun: shadow quality, sun warmth and ambient fill decide almost everything you see. Night and underground scenes invert the cast, the moon contributes gentle direction, but block light and ambient fill do the heavy lifting, and shadow settings matter far less because there is little strong directional light to map.
Tune them in that order of importance. Set your daylight first, at noon and golden hour, because that is where the expensive settings earn their cost. Then visit a night scene, your base after dark, a cave mouth, a mineshaft, and adjust only the cheap, night-relevant dials: brightness, ambient fill and block-light strength. Resist re-tuning shadows for the night; you would be paying daytime prices to fix a scene that barely uses them.
The most common imbalance is a setup tuned at noon that turns caves into either glowing showrooms or pitch-black holes. A small fill reduction plus stronger emissive glow usually fixes the cave without touching the daylight you already approved, which is why the testing section above insists on three scenes rather than one.
Frequently asked questions
My shadows flicker or crawl. Is that a setting?
Often, yes, shadow resolution that is too low for your shadow distance produces exactly that shimmer. Raise resolution or reduce distance so the map covers less ground in more detail. Persistent artefacts have their own checklist in broken lighting and shadows fixes.
Why do my caves look flat?
Usually ambient fill is high or block light is muted. Lower the fill slightly and strengthen emissive glow, then re-test the same cave.
Do these settings differ between Iris and OptiFine?
The pack's settings are the pack's, on either loader. Iris additionally exposes a loader-level shadow distance cap; the pack settings remain the primary controls.